TO READ PART ONE, PLEASE click here!
TO READ PART THREE, PLEASE click here!
PLANS FOR THIS PROJECT:
If you are interested in building your own version of this project,
I have a
set of detailed plans
available for purchase for a modest price.
This includes Measured Drawings as well as Sketchup files for BOTH
styles of table discussed on this web page and also a
worksheet you can use to help you resize the table design
to your own preferred size of table.
Read More... »
The next step was to work on the aprons. I'd already jointed and planed
them, so it was a matter of ripping them down to thickness...
...and trimming them to the appropriate length.
NOTE: I'm using dowels for my joinery, so I can cut my aprons to exact
length. If I was using mortise and tenon joinery, then I'd need to
allow an extra three inches (1-1/2" at each end) in the length of the
aprons, to accommodate the tenons.
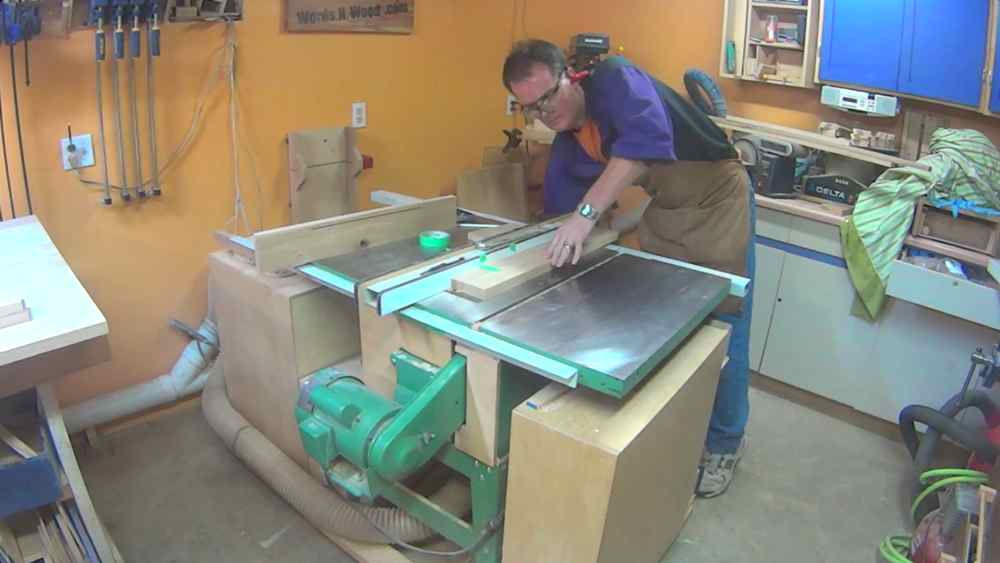
Then I set up the saw to rip a shallow dado about a half-inch from the
bottom of each apron. This is to accommodate the table clips that I
will be using to fasten the table top to the apron+leg assembly.
I need to rip a stopped dado for the short apron pieces to prevent the
dado from being visible. To do that I put take on the fence to mark
where the blade starts and stops (roughly, I don't need super accuracy)
and then I raised up the blade into the workpiece, pushed it to the next
mark, and then lowered the blade.
With all the apron pieces out I positioned them upside down on the
table top. This gave me a chance to check how they fit, and make sure
they are all the right length. This also gives me a first look at how
it looks -- you just have to visualize it flipped over.
The center crosspiece is left long. It will be cut to size later, after the
long aprons are dry fit with dowels, so that it is exactly the right
length.
Drilling dowel holes at the top of the legs for attaching the short apron.
The long aprons have three dowels at the ends. The short aprons have
four where they meet the leg.
Drilling dowel holes into the face of the short apron, for where the
long aprons will join.
The short aprons are thicker than the short aprons, at 1" thick, and
this is the reason why. With the way the long aprons attach to them, I
wanted there to be more substance there to accommodate the joinery.
With all the joinery drilled and tested, I now moved on to mark the
curve on the short apron pieces. I followed the simple technique of using
a thin springy piece of wood and pushing it to make an arc.
And here are the two short aprons with the curve cut in them. You
might have noticed in a few of the preceding photos how the one piece
had a rather large knot in it, which I now cut away.
This photo also nicely displays the dowel holes for attaching the long
aprons, and the stopped dados for the table attachment clips.
Now I could move on to assembly. I sanded the legs around the dowel
holes, to expose the bare wood. Most of the strength comes from
the dowels, and not from the butt joints. But I still like to clean
those off for gluing.
I'm using 2" compressed hardwood expansible dowels. They swell up after
being coated in glue. A while ago I had to cut open a piece with some
dowels that had been put in the wrong place. The dowels were swollen
and totally tight in the wood. There was no sign of any gap, and all
the grooves in the sides of the dowels had disappeared.
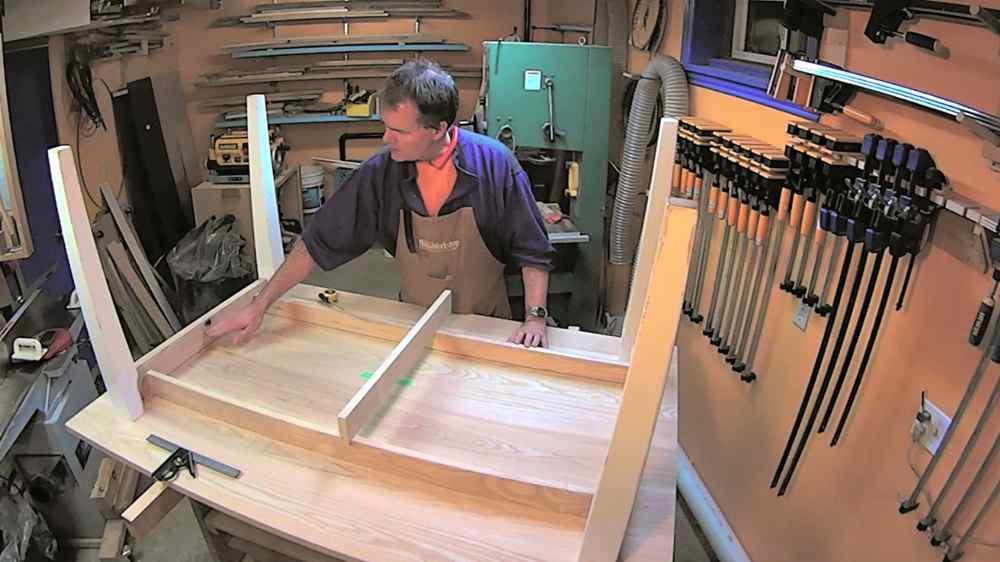
After the two leg assemblies had dried I moved on to the rest of the
apron pieces. It made sense to use the table top for the assembly, so
spread wax paper on it to prevent any glue drips from affecting the look
of the top.
First I glued in the central crosspiece and clamped it firmly.
Then I moved on to attach the long aprons to the short aprons.
Back during the design phase I was not sure that I needed this middle
crosspiece. I thought the table was probably strong enough. I mostly
included it to help keep the long aprons aligned, and because I had
plenty of wood so why not? But as I planned the final assembly I
realized that I did not have any clamps long enough to reach from end to
end to clamp the long aprons in place.
Fortunately I had that central crosspiece. So I could use shorter
clamps and clamp from each end to the central crosspiece. I was careful
to NOT apply excessive clamping pressure.
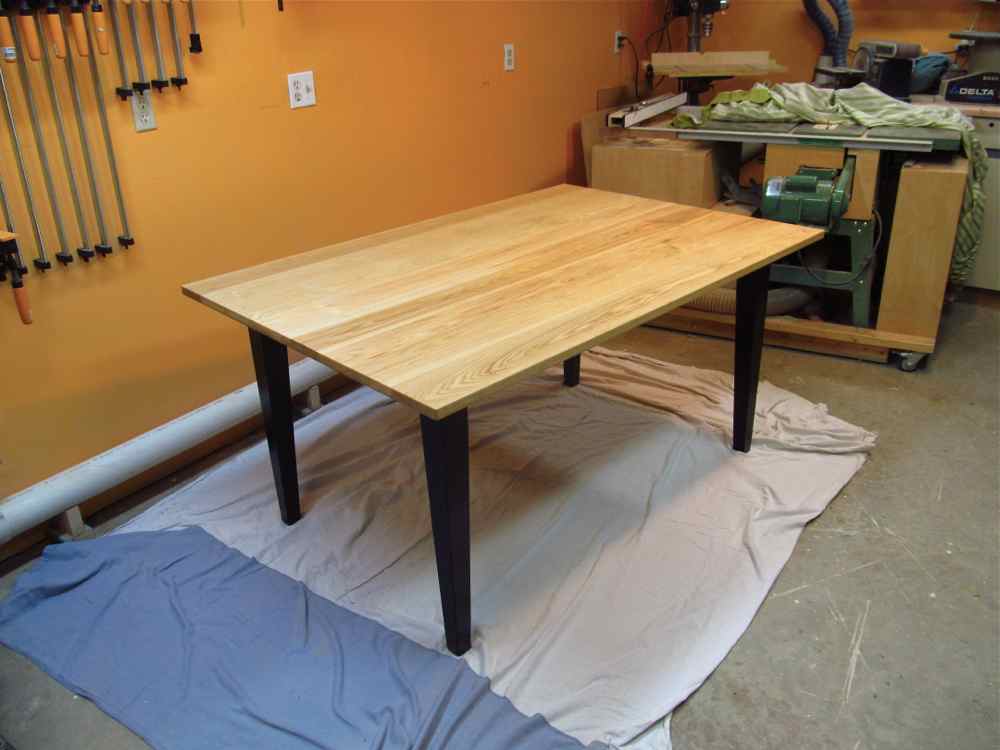
I sanded the entire frame and cleaned away the dust...
... And then primed the entire leg + apron assembly and painted it
black.
As a side note... when I first thought about building a table I
envisioned the whole thing as having a natural wood finish. However,
the "gift" of those painted legs caused me to consider a painted base.
I've done something like this once before, but only on a small scale.
So I was pretty confident that a painted base could actually enhance the
look of the natural wood top.
I now turned my attention back to the top. I routed a small 1/8"
roundover all around it. The reason I left this til the end was that I
knew it would take a couple weeks for me to get this far, and I was
concerned that the table top might get bumped as I moved it around the
shop. By leaving the roundover until now, I would have the chance to
clean up any such dings in the edges through the roundover process.
I learned this technique from John Heisz's website:
ibuildit.ca
-- toner transfer Basically you can use acetone to transfer toner
from a laser printout (not inkjet!) to wood. I had tested this a few
imes and so I decided to use this for labelling the bottom of my table
with a "Handcrafted by Art Mulder" notation.
Two coats of shellac on the table top were next.
And that is as far as I am. It's basically finished, but not quite.
I want to put a lacquer finish on the table. But I can't do that
in my basement shop, as I don't have the ventilation for spraying. I
bought a can of brushing lacquer, but the solvents in that stink a lot
-- it would affect the entire house for several days. I need to
wait for the weather to warm up a bit so I can do that final bit of
finishing in the garage. But you can see here what it will look like,
as the lacquer will not change the look of it.
Here are few final photos.
Remember,
click this link
for information as to how you can purchase a set of plans
for building your own version of this project.
Thanks for reading!
TO READ PART ONE, PLEASE click here!
TO READ PART THREE, PLEASE click here!